|
If you're working on a project targeting high resolution (HD or 4K) and you have some materials in Standard Definition or other lower resolutions you need to upscale them to your target size. However ordinary image resampling methods are not good enough, they produce too blurry results with lack of details. Unlike them, the Super Resolution plugin uses motion search to find same objects in several neighbor frames and combine visual information from multiple input frames into each output frame. This way each result high-res frame may have more details than the source low-res frame ever contained.
Here's a step-by-step guide how to upscale such video with maximum details.
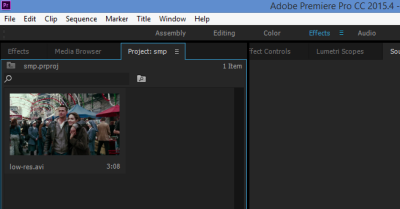
Step 1. Create a new project (or open your existing one) and import your low resolution video.
Step 2. Drag your clip to timeline. You can create a new Sequence or place it to an existing high-res Sequence.
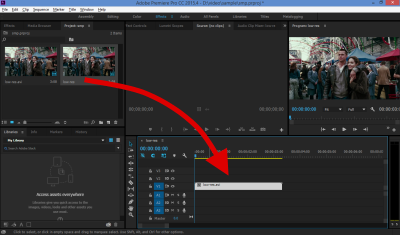
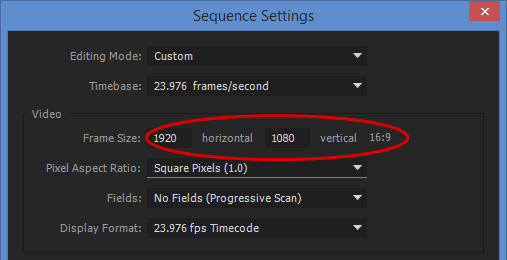
If you created a new sequence it will have the same resolution as the source clip. In this case you can go to Sequence Settings from the main menu and set desired resolution there.
After you've done it you should see in the master window your original low-res clip surrounded by darkness of unfilled space of high-res sequence. Now it's time to upscale.
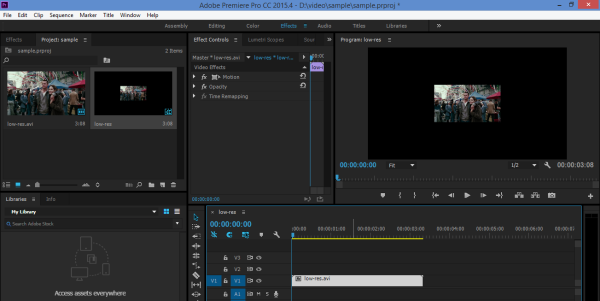
Step 3. Open Effects tab and in Video Effects find Infognition folder and "Super Resolution resize" effect there.

Drag this effect to your clip on the timeline, or if the clip was selected just double click the effect to apply it.
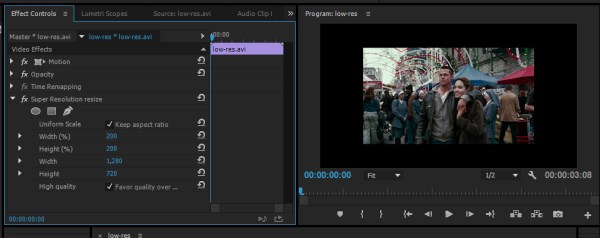
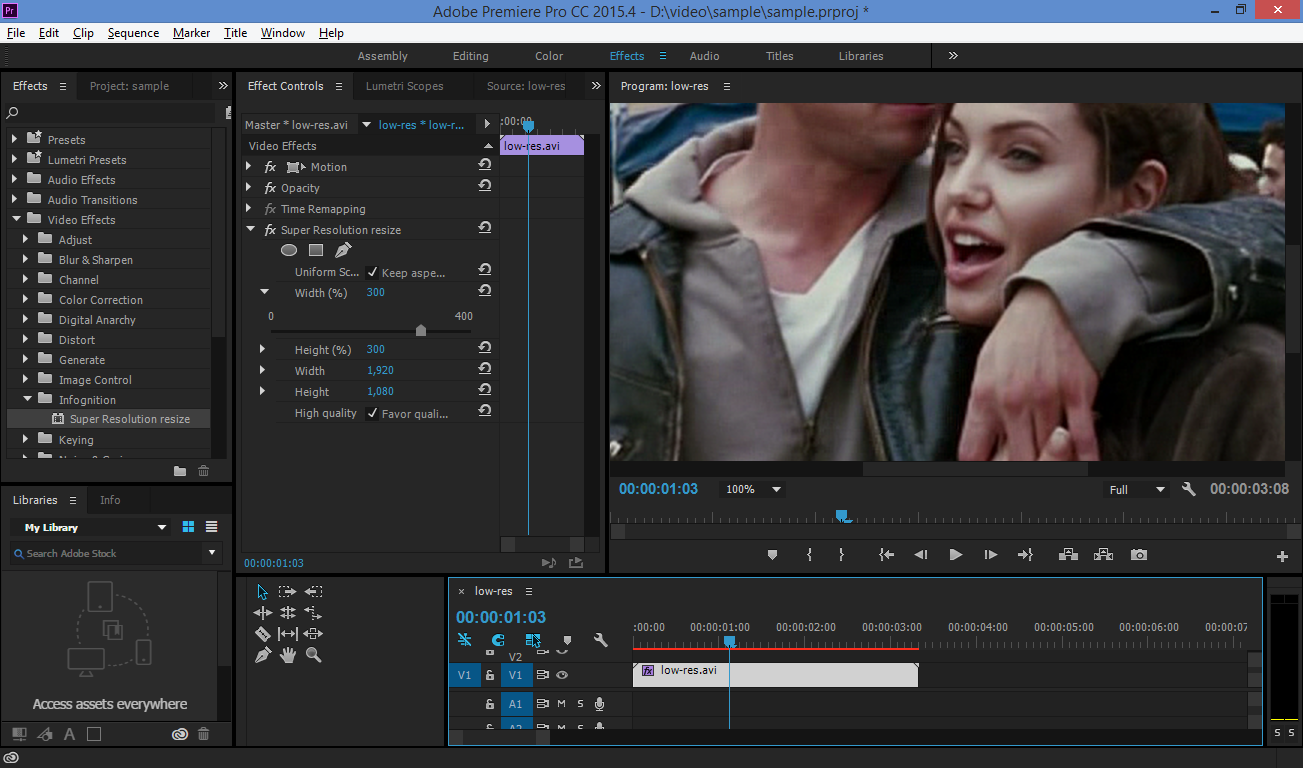
You should see "Effect Controls" tab with "Super Resolution resize" effect applied. By default it upscales to 200%. So here in our example original video (640x360) got upsized to 1280x720 and now it's 2/3 of width and height of the whole 1920x1080 frame. To get it to full HD we need to upscale it to 300%. You can set scale factor in percent or resolution in pixels.
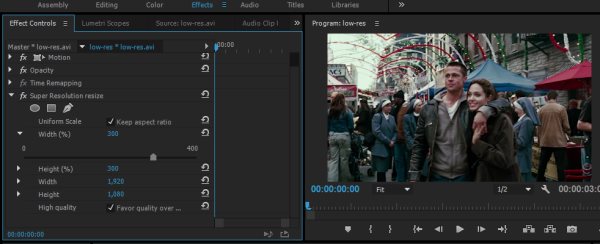
If "Keep aspect ratio" box is checked then as you change width or height the other dimension will update automatically to keep original ratio. Uncheck this box if you want to scale anamorphically.
The other checkbox "Favor quality over speed" controls the trade-off between speed and output quality. When it's checked more accurate motion search will be used to get better results but it will take more time to complete.
Note. Preimere Pro often uses 1/2 or 1/4 or even lesser resolutions to show preview quickly, and people often set current view mode to 1/2 resolution while editing. It's important to know that Super Resolution plugin only uses its full motion-search based engine (which is quite computationally expensive) in full resolution mode. In other modes (1/2, 1/4, 1/8...) the video just gets rescaled by a simpler and quicker intra-frame method. So don't judge SR quality when looking in reduced resolution modes. To see full effect of Super Resolution, use full resolution mode or better do a render (since Premiere Pro often jumps from one mode to another in preview during editing). Order in which frames are processed also matters. Best results are obtained when frames are processed sequentially, as in render. When you jump to random place in the video up to 3 neighbor frames get used, so less information is accumulated to build the result frame. This is why quality of render may differ from quality of preview.
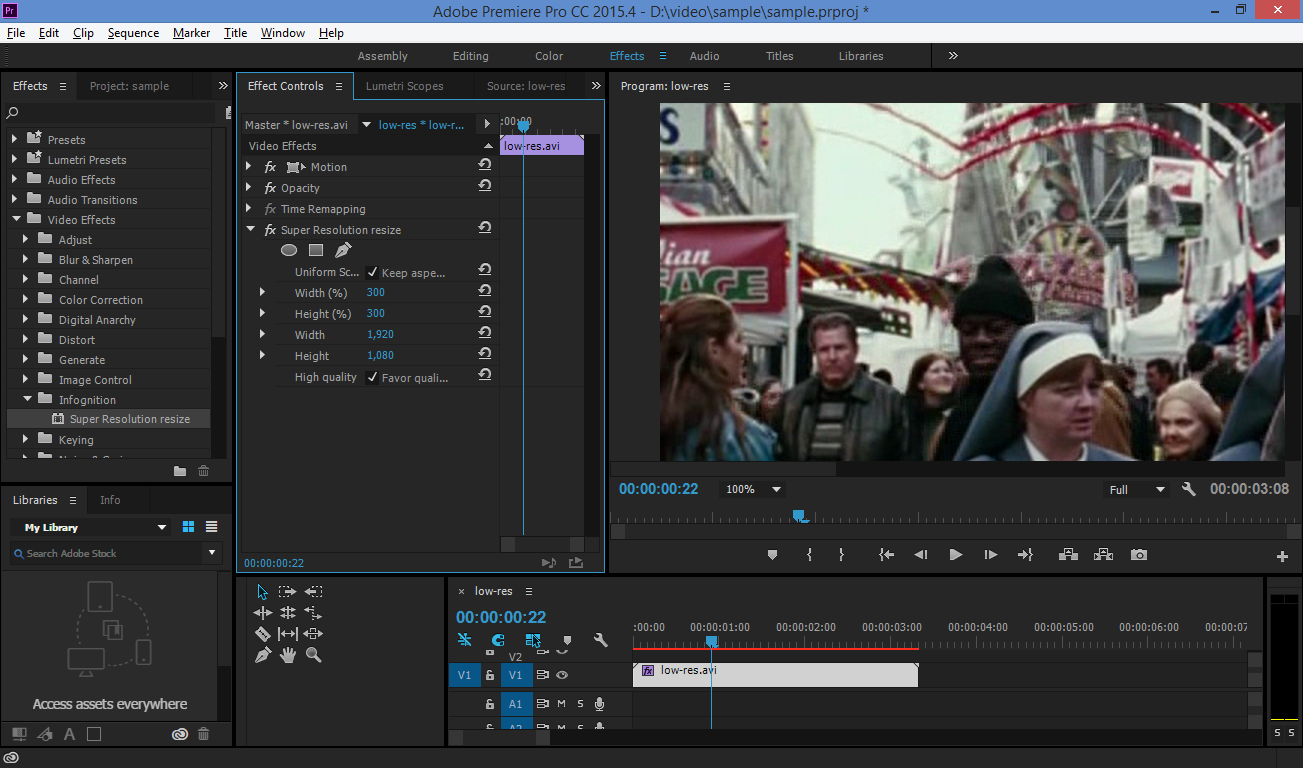
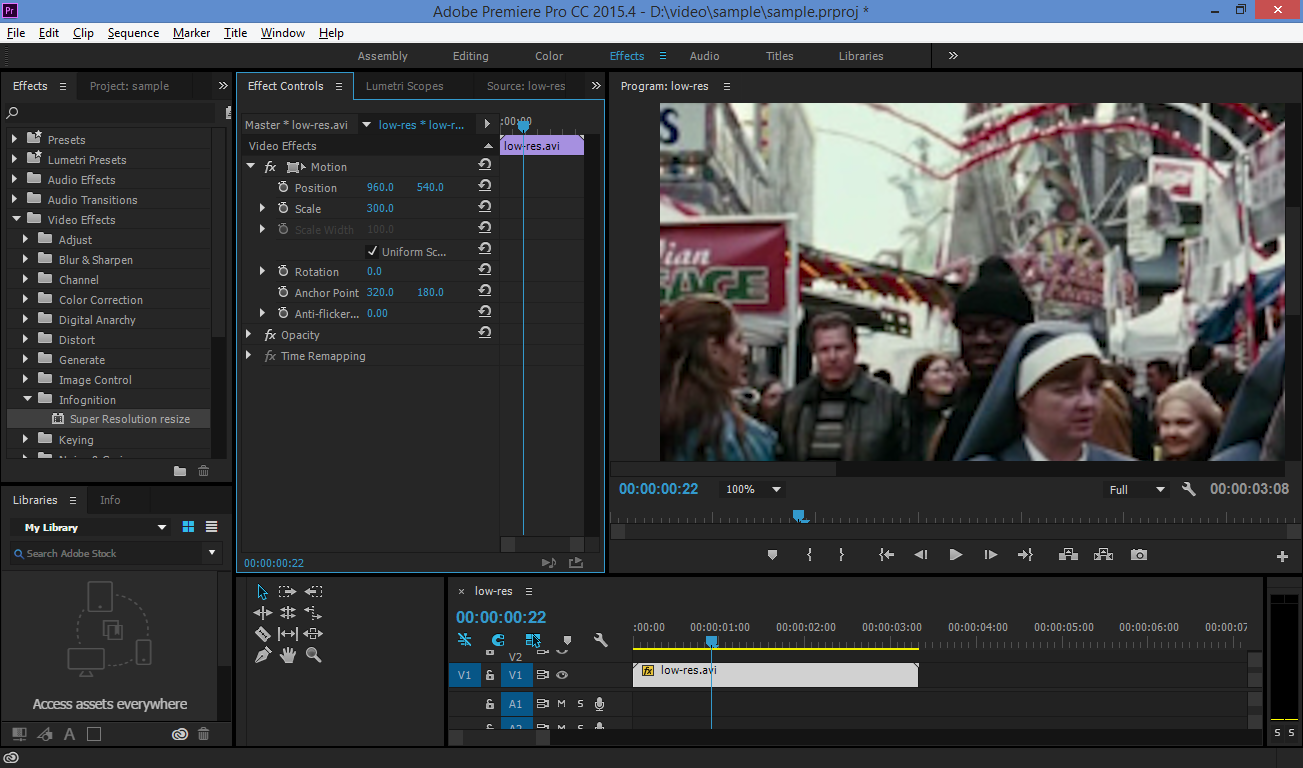
Here is a couple of examples comparing results of upscaling using Super Resolution plugin and the built-in Scale function in the Motion effect applied by default. The same video and same frame scaled to 300%. Click the thumbnails to open full-size screenshots in separate tabs, then switch between tabs to compare.
The trial version available here draws a watermark over your video. To remove watermark use the Options button in the Effect Control panel for this effect:
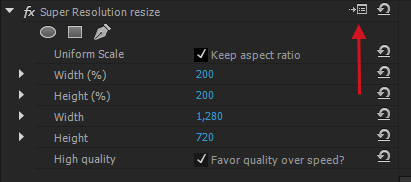
A dialog will appear offering to register and enter registration code. Once the code is entered, the watermark will be gone.
|